How to Change a Face in a Video the Right Way

You’ve got a finished campaign clip, a face that needs to change, and a deadline that won’t move. Maybe the original actor is unavailable, the brand needs a consistent spokesperson across several edits, or you’re adapting footage for a new market. The editing decision may look simple. The production decision isn’t.
Before you change a face in a video, you need to know whose likeness you’re using, whether they’ve agreed to this use, how the shot will behave in motion, and what viewers will see after a platform recompresses it. A convincing preview can still become a flickering, misleading, or unauthorized video once it’s published.
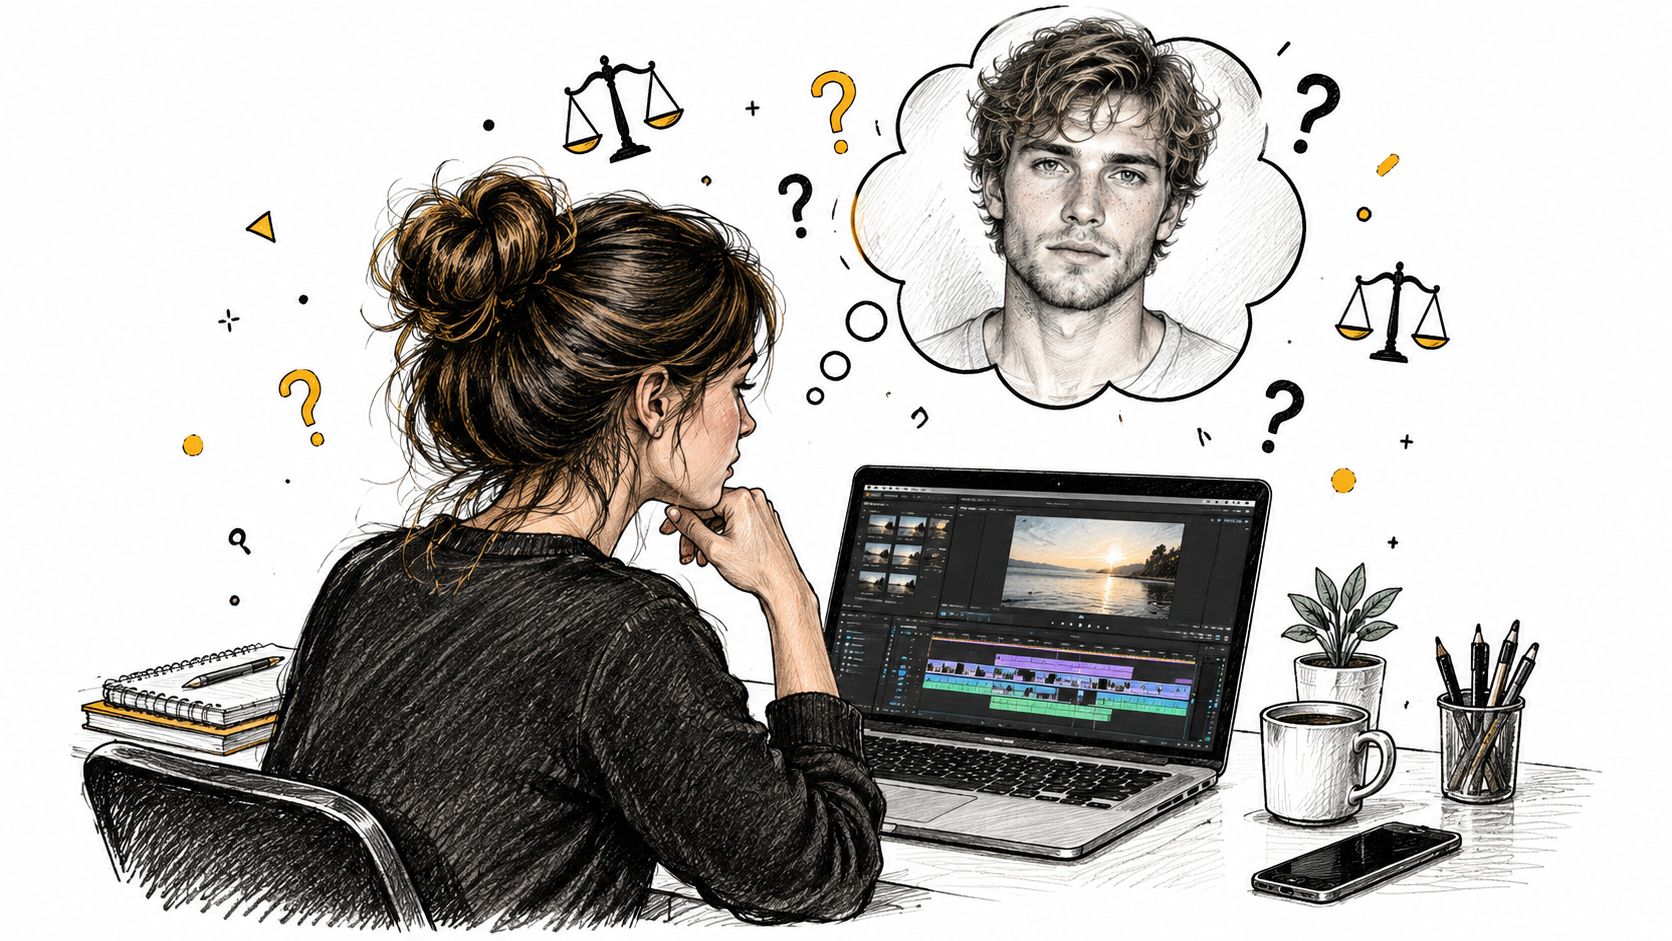
A face replacement isn’t just a filter. It’s a publish-safety decision that combines identity permission, compositing, delivery testing, and clear disclosure. If the creative goal is a talking presenter rather than replacing a face in existing footage, compare that route with an AI talking avatar workflow. The right choice depends on the footage, the intended use, and whether you can responsibly use the likeness.
Table of Contents
- The Moment You Decide to Swap a Face
- The Full Workflow From Source Footage to Final Render
- Choosing the Right Tool for the Job
- What Happens After You Hit Export
- Consent, Identity Rights, and What to Do When Things Go Wrong
- Tips That Save a Render on the First Pass
- Bringing It All Together
The Moment You Decide to Swap a Face
The decision often arrives in the middle of an otherwise ordinary production. A marketer has a strong product video, but the spokesperson can’t return for pickups. A creator wants to adapt a clip for another audience. A small business owner has approved footage and a replacement face in mind, but no clear answer about what that person has authorized.
That last question matters more than the software choice. Permission to use footage isn’t automatically permission to substitute someone’s identity. A technically successful edit can still mislead viewers, violate an agreement, or expose the publisher to complaints. Decide what the video is meant to communicate before you start testing tools.
Face replacement has moved from manual compositing toward automated computer vision. Early systems searched for a visually similar face to blend into footage. Later approaches began tracking facial geometry, expression, identity, lighting, and timing. A 2017 method by Korshunova and colleagues used a generative adversarial network trained on two selected faces, around the same time that the term “deepfakes” entered online use. Desktop tools such as FakeApp later made the process more accessible to non-specialists. These milestones are described in research on the development of deepfake technology.
The practical lesson isn’t that every modern workflow uses the same technique. It’s that the job has always involved more than pasting one face over another. The replacement has to follow a performance, sit convincingly in its lighting, and remain consistent as the person turns or moves.
Before editing, answer four questions:
- Who is depicted, and what did they agree to? Record permission for the specific use, not just general access to a clip.
- What should viewers understand? A clearly labeled creative effect is different from an edit designed to pass as documentary footage.
- Will the source footage support the result? A clean, front-facing performance is a better candidate than a dark, blurred shot with hands crossing the face.
- Where will the video appear? A local preview doesn’t tell you how it will look after a platform changes its size or quality.
If you can’t answer the first question, don’t start the swap. Resolve the identity and permission issues before you spend time making the edit look real.
The Full Workflow From Source Footage to Final Render
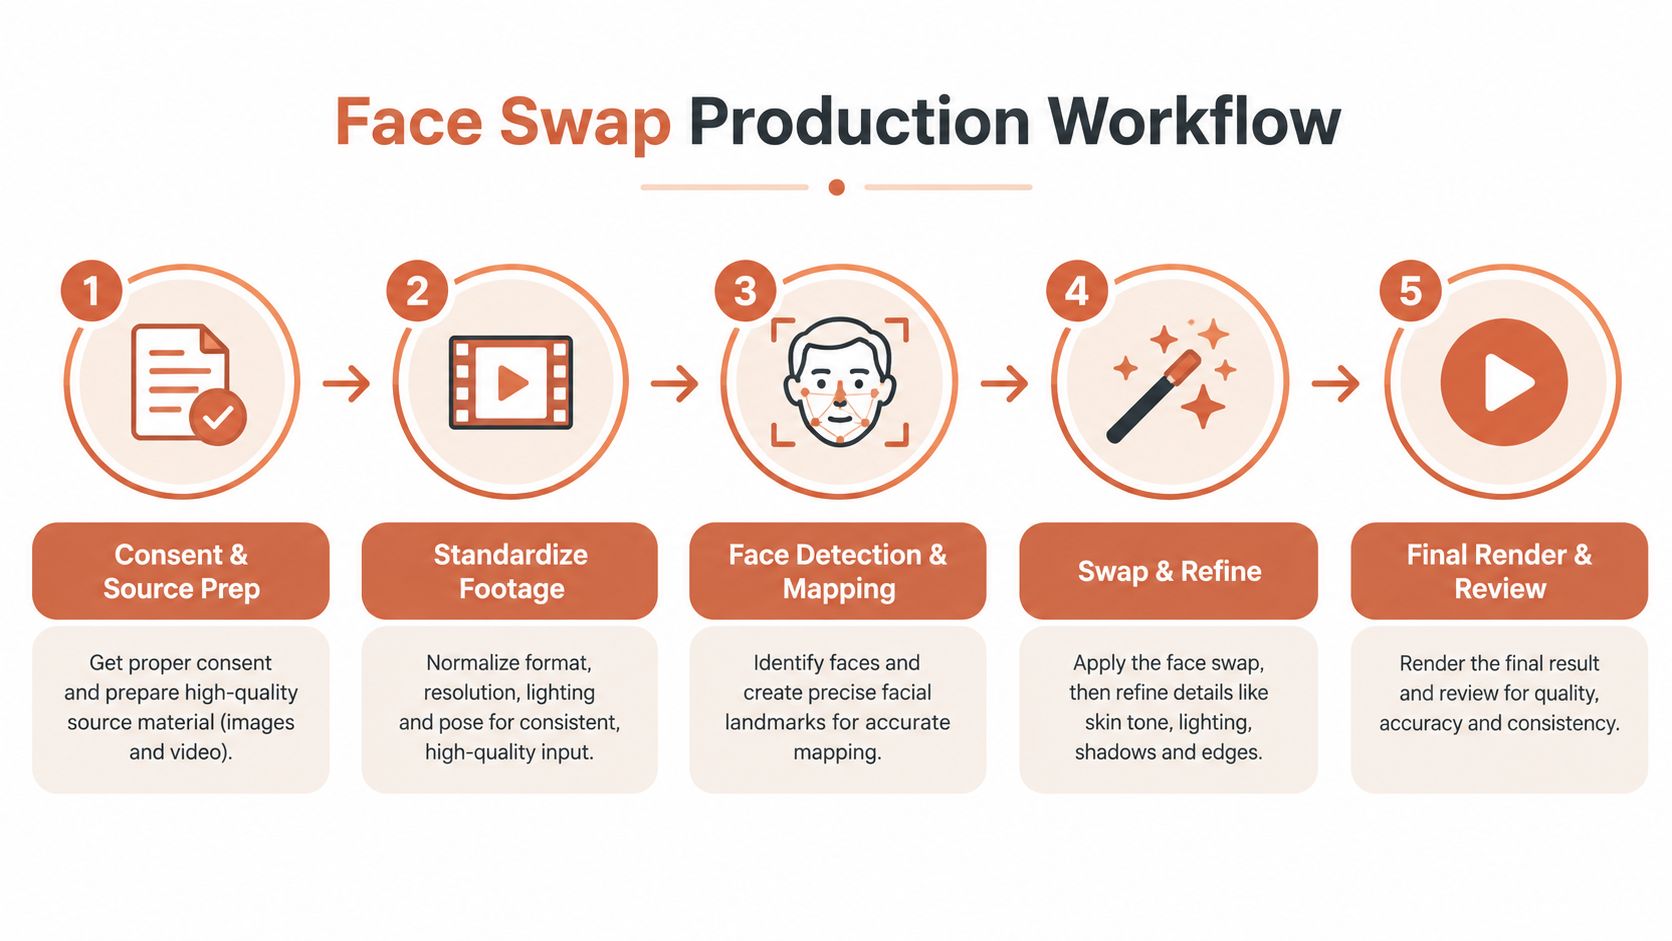
A face swap fails in two places. It fails in the edit, where tracking and edges fall apart, and it fails after export, when a platform compresses it or a viewer asks who agreed to appear in it. Build the workflow for both, and keep records as you go so the finished clip can be explained and labeled clearly.
Prepare the footage before generating
Confirm consent before anything else, then collect the cleanest source clip available. Keep the original media untouched, preserve a copy of the approved source, and write down which identity is being used, who cleared it, and for which project. That record is what lets you disclose how the asset was made later, and it protects the edit if the usage is ever questioned.
Standardize the working video’s frame rate and resolution before tracking. Mixed settings complicate landmark detection and introduce judder you will chase later for no good reason. Work from a high-quality intermediate master instead of repeatedly exporting and reimporting compressed copies, because every re-encode hides defects you still need to see.
Track the performance, not just the face
Detect and track facial landmarks across the whole clip, then align the source identity to the target’s pose, expression, and timing. The system has to follow a performance through the full clip. Profile views, fast head turns, motion blur, hard shadows, glasses, and low-resolution footage are where tracks break. Hands or hair crossing the face will confuse both the tracking and the blend that comes after it.
Generate the replacement only after the track holds through the hardest moments. If the face slips during a turn, no amount of edge polish repairs the underlying error. Inspect the difficult shots first and fix tracking there before committing to a full render.
Refine the boundaries and review in motion
Separate identity transfer from refinement. The first stage creates the new identity; the second repairs boundaries and handles occlusions like a hand covering part of the face. FaceShifter uses a second synthesis stage called HEAR-Net for this kind of refinement, as described in the FaceShifter paper. Whatever tool you use, look for that two-stage structure or plan to do the occlusion repair by hand.
Match color and exposure, composite with attention to occlusions, smooth temporal changes, and encode. Then review the whole clip in motion.
Production rule: If the edit only looks right when paused, it isn’t ready to publish.
Scrub at 100% scale and watch for landmark jitter, halos around the face, distorted eyes or teeth, inconsistent skin texture, and background warping. Finish with a dedicated flicker check after export, and view a copy at the compression level of the platform it will ship on. Benchmark collections such as FaceForensics++ exist for a reason: manipulation quality varies across methods and compression conditions, and a still frame cannot reveal a temporal defect.
Choosing the Right Tool for the Job
The right tool depends on how much control the footage needs and whether the same identity must carry across more than one asset. Don’t choose based on the flashiest preview. Choose based on the actual production task.
| Approach | Best for | Identity reuse | Brand control | Skill required |
|---|---|---|---|---|
| Manual editor or compositing suite | Narrative work, tricky shots, detailed correction | Possible, but often managed manually | High, with hands-on setup | High |
| Standalone face-swap app or traditional deepfake tool | A quick, contained experiment or one-off edit | Often limited or cumbersome across a campaign | Usually requires manual checks | Low to moderate |
| Agent-native creative platform | Iterating on campaign assets and keeping a character consistent across outputs | Designed around reusable references | Can use saved brand guidance | Moderate, depending on the workflow |
Choose control when the shot is difficult
Manual compositing in an editing or effects suite gives a skilled editor more room to correct masks, adjust edges, and treat problem frames individually. That control is valuable when a clip has prominent occlusions, unusual lighting, or an important close-up. The trade-off is time. Manual work can become tedious when the same correction must be carried through several clips.
A standalone tool is faster for a simple, self-contained job. It may be a poor fit when a campaign needs a recurring face, consistent wardrobe, and controlled brand presentation across multiple outputs. You may save setup time on the first clip, then spend it again correcting identity drift in every follow-up.
Choose reuse when the campaign needs it
Agent-native workflows make sense when teams want to brief, generate, compare, and refine media in a conversation rather than move between disconnected tools. For example, an AI video editing workflow can be useful when the task involves more than one isolated render. A reusable character reference can help keep an identity aligned across campaign assets, while brand guidance can reduce avoidable stylistic drift.
The limitation is important: a reusable character system doesn’t replace consent, careful compositing, or final human review. And no tool makes poor source footage easy to rescue. If the shot has severe blur, a hidden face, or extreme movement, plan for extra correction or pick a better shot.
My recommendation is straightforward. Use manual compositing when precision on a difficult shot matters most. Use a standalone app for a simple one-off. Use a reusable, brand-aware workflow when the same approved character has to appear consistently across a campaign. Don’t expect any category to solve a permission problem or guarantee a publish-ready result automatically.
What Happens After You Hit Export
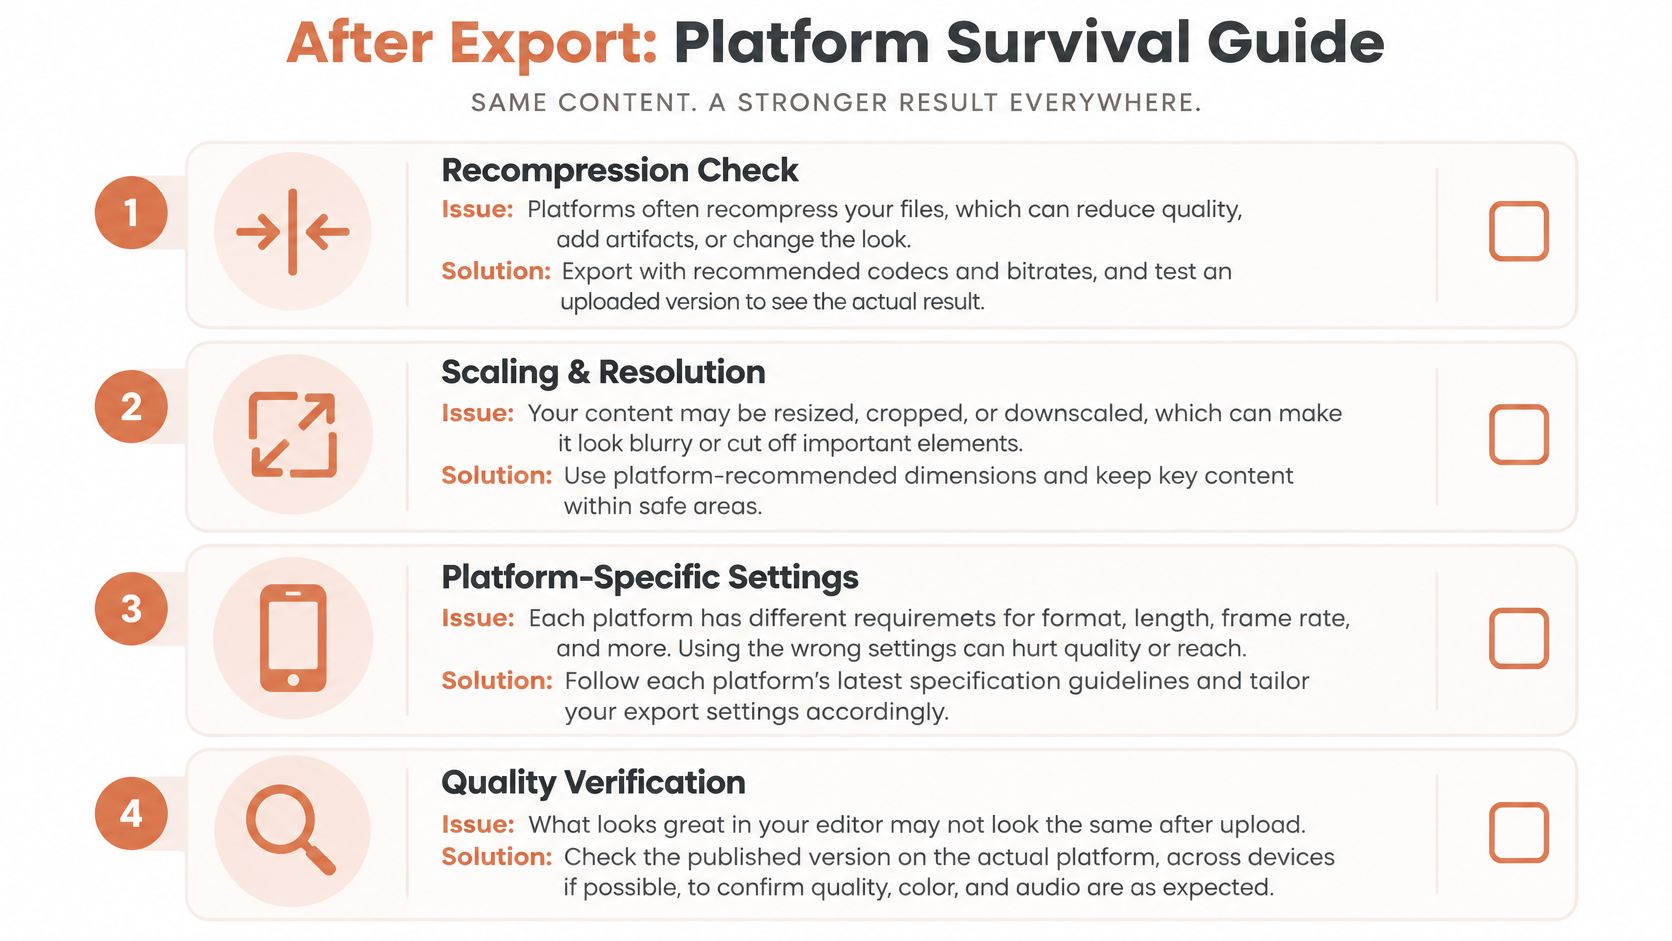
A convincing preview isn’t a delivery test. Social platforms and messaging apps resize, recompress, and re-encode video, and that processing exposes edge shimmer, unstable skin texture, and flicker you never saw in the editing session. A face replacement can look clean on a workstation and fall apart on a phone. Plan for that gap before it embarrasses the campaign.
Protect the master and test the delivery version
Keep a high-quality mezzanine master through every intermediate stage. Each round of encoding and decoding degrades the image before the platform even touches it. Hold frame rate, keyframe cadence, and color management consistent, and store the original audio separately until the visual replacement is approved.
Inspect the version you’re planning to publish before sign-off. Skip this step and you’re grading your own homework. Build a platform-bound export, review it at the size viewers will see, and confirm the face stays stable through movement and transitions. FaceForensics++ evaluates manipulated footage under raw and H.264 compression conditions, a reminder that quality and compression belong in the test plan, not the postmortem.
Don’t confuse realism with security
Compression also complicates whether a swap can be detected at all. The assessment of face-swapping consistency under compression and related evaluation conditions reports that classification becomes less reliable under heavy compression, resolution reduction, or video noise, and it describes consistency measurements across consecutive frames rather than a viewer’s judgment of one still.
Those findings don’t mean a compressed video is impossible to assess, or that viewers can always spot a synthetic edit. They mean neither an attractive preview nor a platform’s processing counts as proof of authenticity or concealment. If the identity use would be harmful or deceptive, compression is not your cover.
For publish-safety, pair technical checks with disclosure. Label the footage visibly when viewers could reasonably misread it, and retain provenance information where your workflow supports it. The label has to survive crops, reposts, and platform processing. Keep original source files and permission records with the approved final version.
Consent, Identity Rights, and What to Do When Things Go Wrong
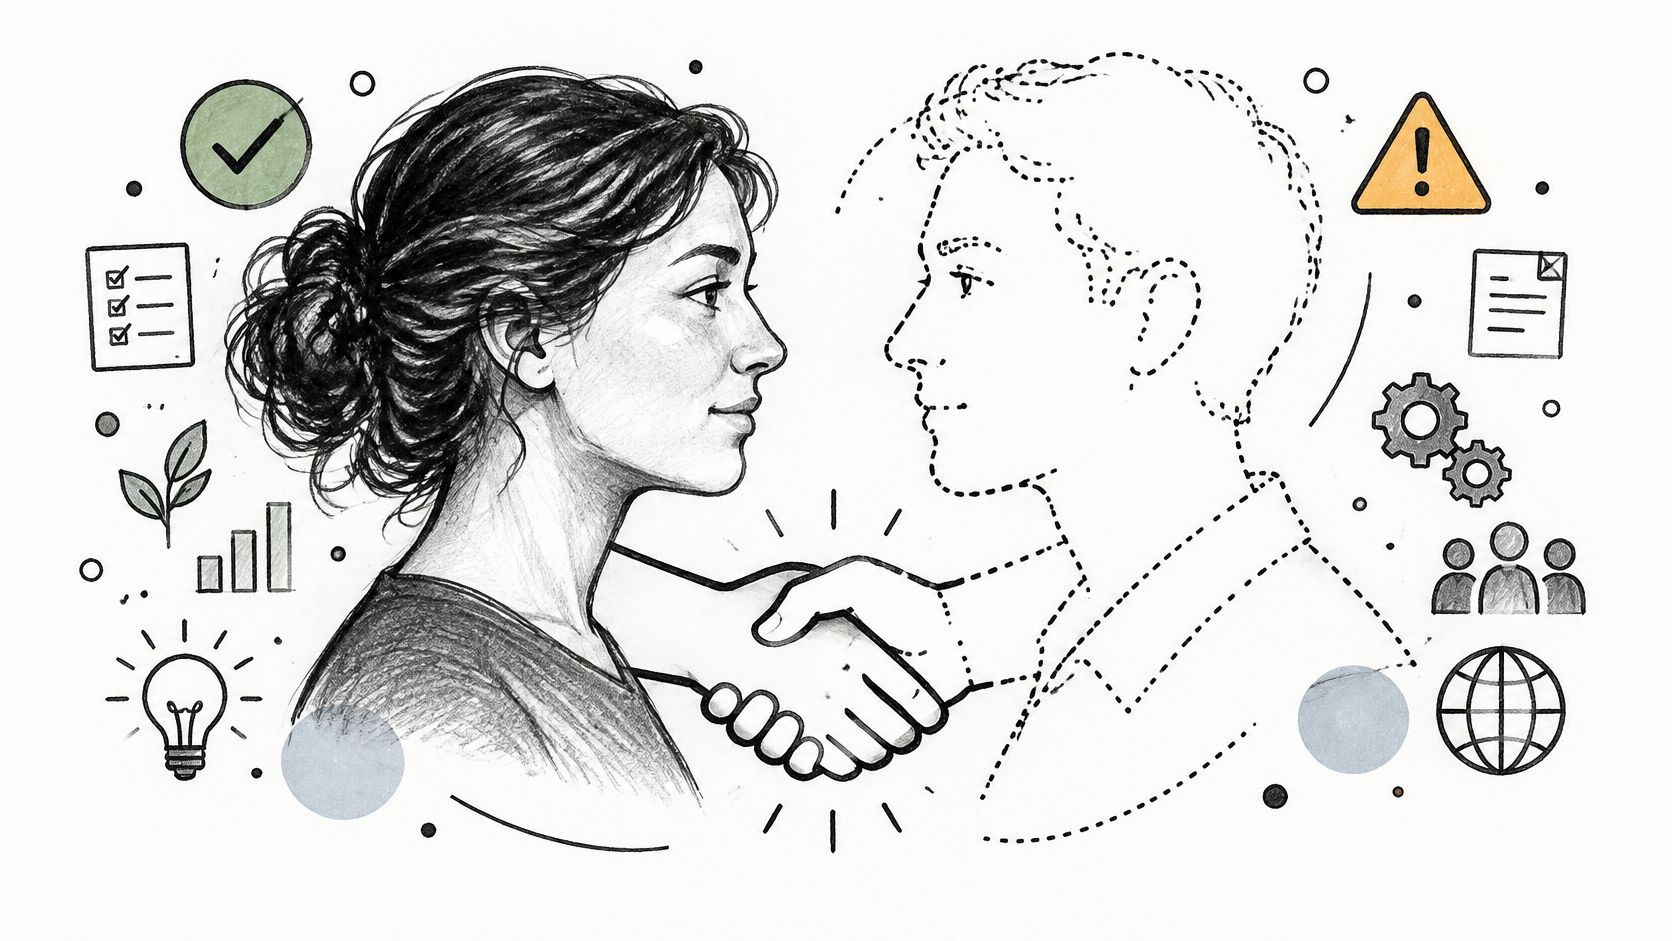
A realistic result isn’t the same as an authorized result. Before you change a face in a video, distinguish between using your own face, using an actor who has agreed to the edit, using a licensed likeness, creating clearly presented parody, and substituting someone’s identity without permission. Those are different situations, and a tool can’t decide which one applies.
Make permission part of the production record
Get explicit permission for the intended use, and keep the record with the project. A model release may need to cover the planned context, distribution, and use of a likeness, but requirements vary by jurisdiction and project. If a campaign changes direction, check that the existing permission still covers the new use rather than assuming it does.
Add practical safeguards:
- Record identity permission. Note who approved the likeness and what use they agreed to.
- Preserve provenance. Retain the original footage and a record of the approved edits.
- Use clear disclosure. Tell viewers when synthetic face changes could affect how they interpret the video.
- Decline harmful requests. Don’t create sexual or deceptive material using someone’s likeness without consent.
Public understanding isn’t a substitute for legal knowledge. In a 2025 survey of 1,700 people in England and Wales, 67 percent said they had seen or might have seen a deepfake, 60 percent worried that one could be made of them, and only 14 percent knew about relevant legislation. Roughly one-quarter considered viewing, sharing, creating, or selling a sexual deepfake acceptable or neutral even when the depicted person hadn’t consented, according to the survey on public attitudes and deepfakes. Treat those findings as a reason to make permission and disclosure explicit, not as a guide to what the law allows.
Respond quickly to unauthorized use
If someone has used your face without permission, preserve evidence before asking for removal. Save the video, its account and post details, the date you found it, and any relevant messages or notices. Report it to the platform using the applicable process, and seek advice on the legal options available where you live. Jurisdiction matters; don’t assume the same rule or remedy applies everywhere.
For production teams, an approved Character Kit workflow can help organize a recurring identity, but the process needs explicit permission metadata and provenance. Reusability is useful only when it’s tied to the person’s authorization and the scope of the campaign. Treat identity rights as production inputs, not cleanup paperwork.
Tips That Save a Render on the First Pass
A thumbnail can hide the exact defect that sinks a finished edit. Check at full size, then watch the entire clip in motion. These habits catch the problems that a fast preview often misses.
- Scrub at 100% scale. Inspect the face and its boundary at native viewing size, especially on turns and close-ups.
- Watch the landmarks. Look for facial features that jitter, slide, or change shape between frames.
- Inspect the edges. Face-boundary halos often show up against hair, glasses, or a high-contrast background.
- Check eyes and teeth. These details can deform even when the overall face looks plausible at a glance.
- Run a temporal flicker pass. Watch the final export continuously for identity drift, changing skin texture, and background warping.
- Compare variants before committing. Review alternatives at source and delivery resolution, and reject clips with visible shimmer or drift.
For recurring campaign characters, keep an approved, reusable reference and confirm that every new output still matches the authorized identity and intended style. A consistent AI character workflow can support that kind of repeatable production, but it doesn’t replace footage-by-footage review.
Don’t approve a still. Approve the moving clip and the actual delivery export.
Bringing It All Together
The marketer with the overdue campaign still has a clear path: confirm permission, choose footage the workflow can handle, track and refine the face through motion, then review the platform-bound export. If the identity or intended use isn’t authorized, stop before rendering. If the edit only works in a clean preview, keep correcting it rather than publishing on hope.
Keep a short release checklist with the project: permission documented, source preserved, difficult frames inspected, compression tested, and disclosure chosen. That turns face replacement from a risky last-minute effect into a production decision the team can explain and defend.
Watch how provenance tools, watermarking approaches, and platform policies develop. These may help creators signal that media has been altered, but no signal removes the need for permission or clear communication with viewers. Before you publish, check the identity, the export, and the context in which people will see the video.
CreativeClaw connects AI assistants to media-generation and editing tools, with reusable Character Kits and brand-aware workflows for teams producing campaign assets. If you need to develop consistent characters and iterate on creative in conversation, visit CreativeClaw and review whether its workflow fits your production needs.
Ready to try it?
Connect CreativeClaw to Claude in under a minute.
Get StartedContinue the workflow