How to Color Correct Photos Like a Pro in 2026

You’ve got the shot open, the product looked clean on the camera LCD, and the laptop tells a different story. The white balance is a little off, the label leans warm, and the “neutral” background has a cast that didn’t show up in the viewfinder. That’s the point where color correction starts paying rent, because the job isn’t to make the photo prettier. It’s to make it believable across screens, print, and the next person’s eyeballs.
Table of Contents
- What Color Correction Actually Solves
- Set Up Before You Touch a Single Slider
- The Global Correction Sequence That Prevents Locked-In Casts
- When Global Correction Fails on Skin and Brand Colors
- Choosing Between Curves, HSL, and LUTs
- Export and Soft-Proofing for Web, Social, and Print
- A Quick QC Checklist Before You Ship the Image
What Color Correction Actually Solves
A lot of bad edits start when someone treats color correction like a mood tool. A clean correction restores the captured scene toward faithful color, while color grading pushes the image toward style after the technical problems are solved. Those are different jobs, and mixing them up is why one image looks acceptable in the editor but wrong on a phone, a laptop, or a proof sheet.
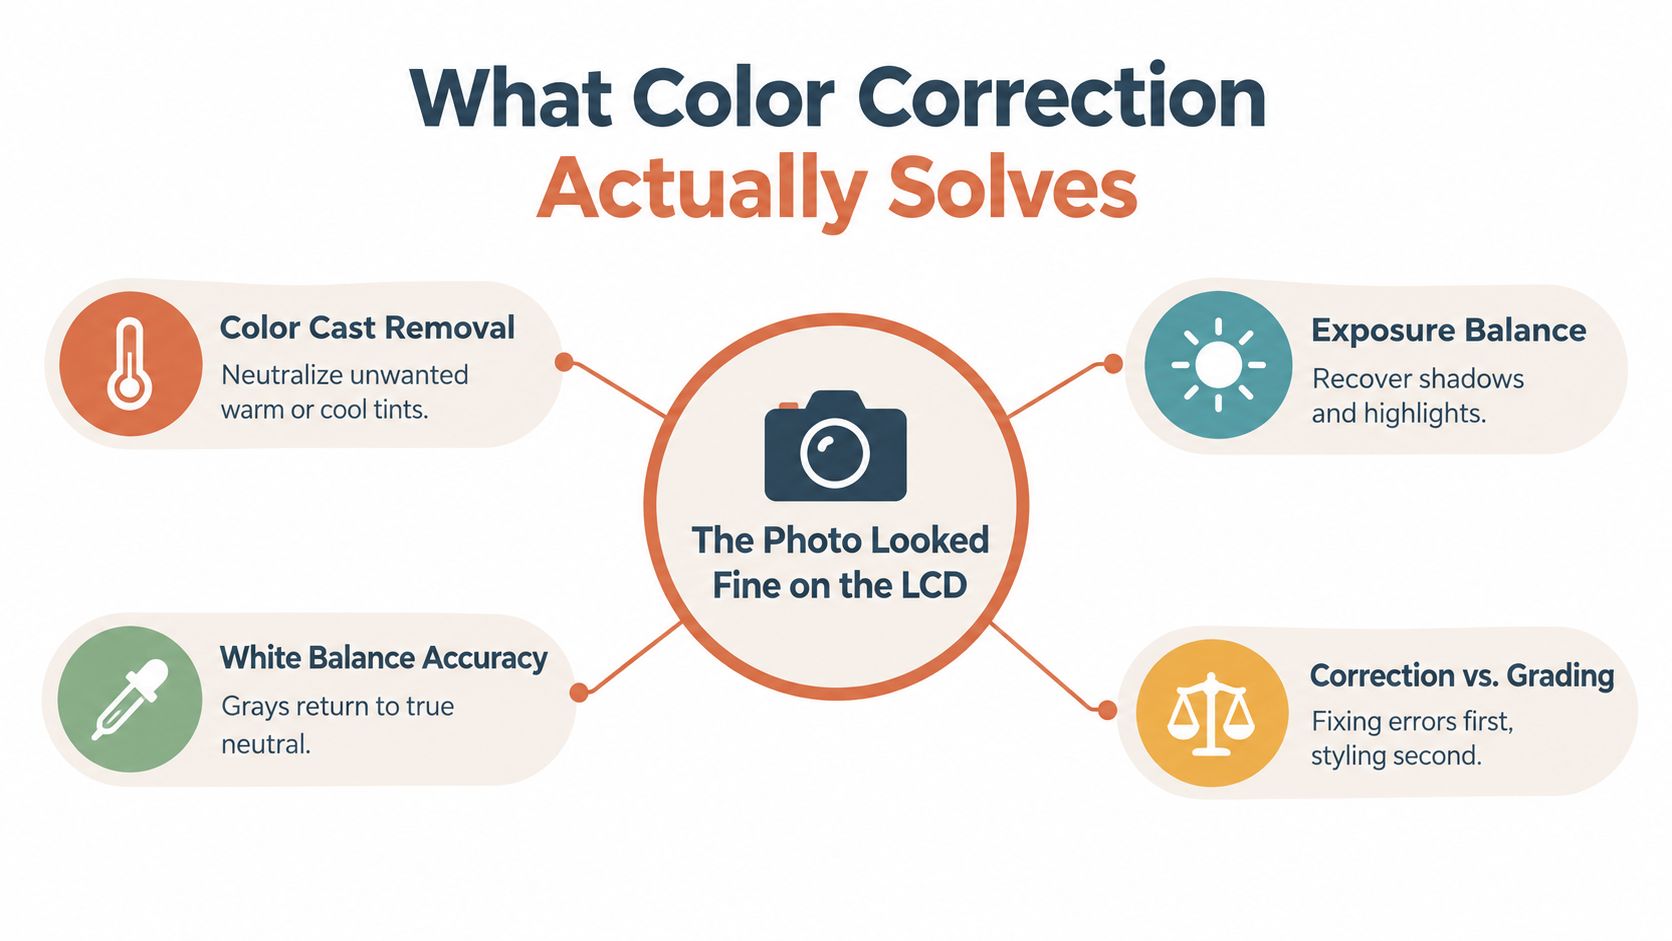
The practical test is simple. If the product color, skin tone, or white surface doesn’t match the actual object, the file needs correction before anyone thinks about styling. Early color photography already exposed this problem in another form, because the perceived “correct” color depended on the light source, the recording medium, and the final viewing medium, not just the scene itself.
What “correct” really means
The standard isn’t “more saturated” or “brighter.” It’s closer to “does this look neutral where it should, and consistent where consistency matters.” That’s why a photo can look fine in isolation and still fail in context, especially when the image has to match a physical product, packaging, or brand palette.
Practical rule: fix the capture before you decorate it. If the baseline is wrong, every creative choice rides on top of the error.
A working retoucher thinks in sequence, not in filters. Capture discipline, global correction, local correction, and output verification all sit in one chain. If any link is weak, the final image may still look polished on your screen and drift everywhere else.
Why the old problem still matters
The first practical color systems were already fighting light loss, color bias, and exposure constraints, and that same underlying problem still shows up today in digital form. Color correction is the modern answer to a very old question, how do you make the image reflect the subject instead of the lighting accident that recorded it? That question matters whether you’re doing product photos, portraits, or ecommerce batches. It also explains why a technically “neutral” image can still feel wrong if the output device or viewing environment changes.
Set Up Before You Touch a Single Slider
Start with the file, not the sliders. Preserve the RAW original or untouched source so you always have a clean master to return to, then inspect the histogram for clipped channels and missing tonal range. If a channel is already crushed or blown, no amount of pretty editing will recover what wasn’t captured.
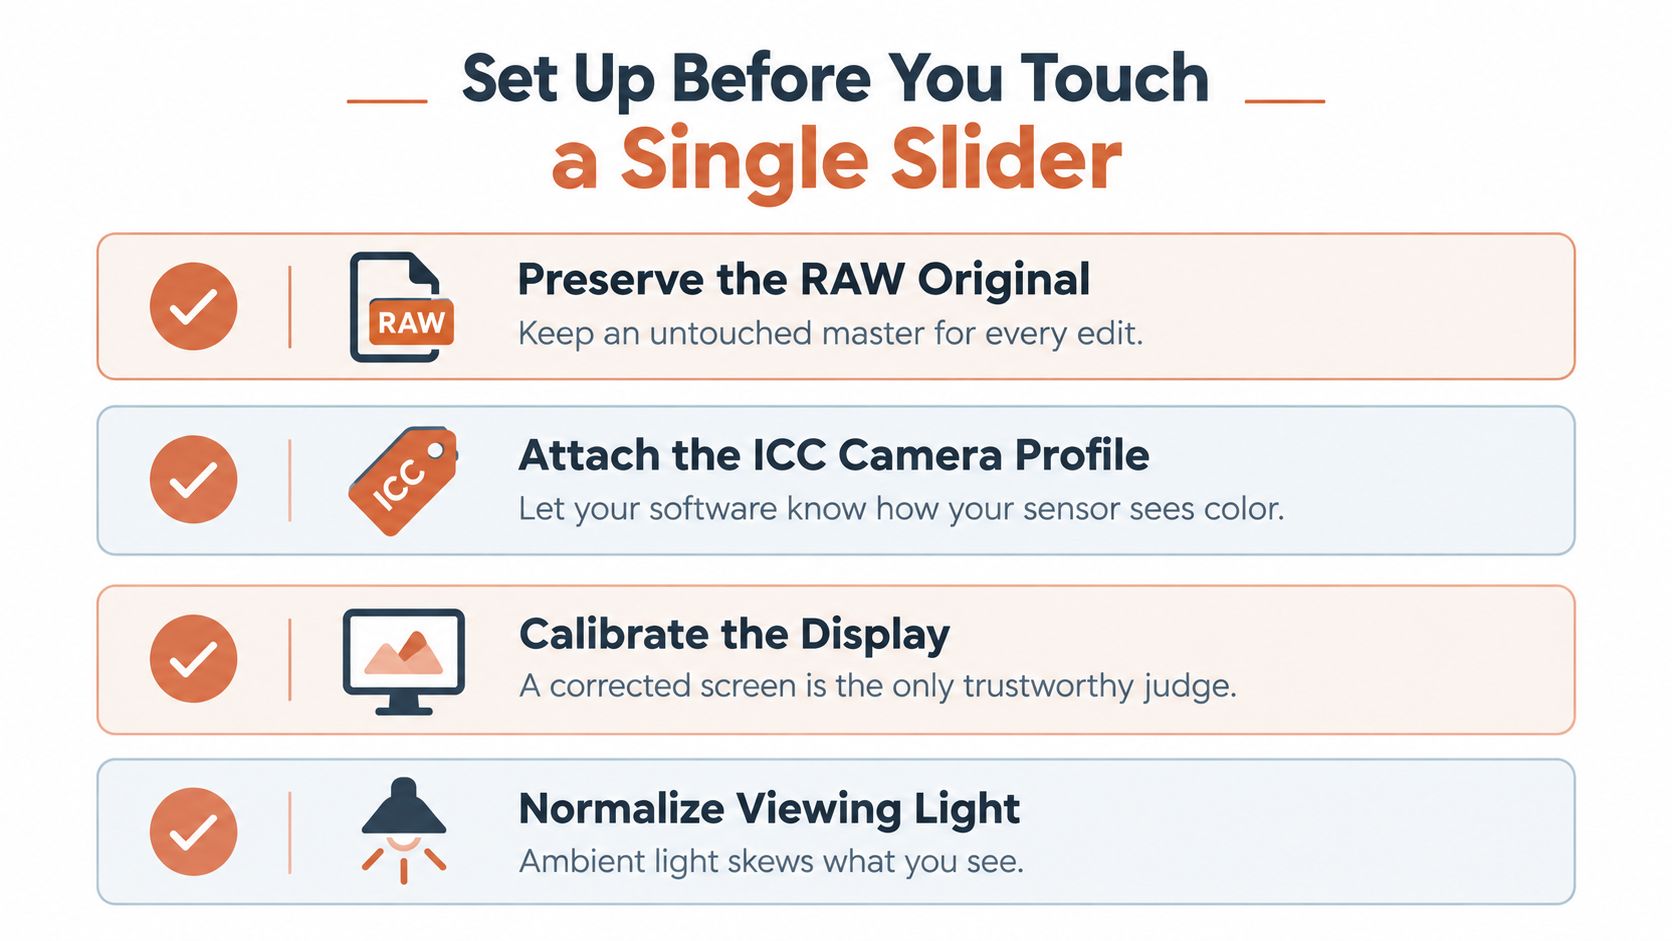
Color only means something when the display is trustworthy. A calibrated monitor using a measurement instrument, a D65 white point, 160 cd/m² luminance, and gamma 2.2 gives you a sane baseline for visual work, while sRGB is the common destination for web-oriented imagery. Without that baseline, one person’s “neutral” is another person’s color cast.
Lock the capture chain first
The camera or scanner, the display, and the printer or output device all need profiles in an ICC-managed chain. A neutral reference shot under the same lighting as the subject helps anchor the edit, and a fixed white balance for that lighting condition keeps the batch from wandering. That’s the difference between repeatable color and guesswork.
For product teams that need the same base image reused across variants, one neutral capture can become the reference for the whole set. CreativeClaw’s product photos from one image guide is relevant here because the workflow only works if the source file starts from a controlled, color-managed capture.
A common failure mode is trusting auto white balance under mixed lighting. It can shift neutral surfaces and brand colors differently from frame to frame, which means every image in the set starts from a slightly different truth.
Workflow note: correction layers and non-destructive edits matter because they let you revisit the exact neutralization later without baking in a bad guess.
Treat viewing light as part of the setup
Ambient light changes what your eyes think the screen is doing. A warm room lamp can make a balanced file look cool, and a bright workspace can make you over-correct shadows. Calibrate the room as much as you calibrate the screen, then keep that environment consistent for the batch.
The Global Correction Sequence That Prevents Locked-In Casts
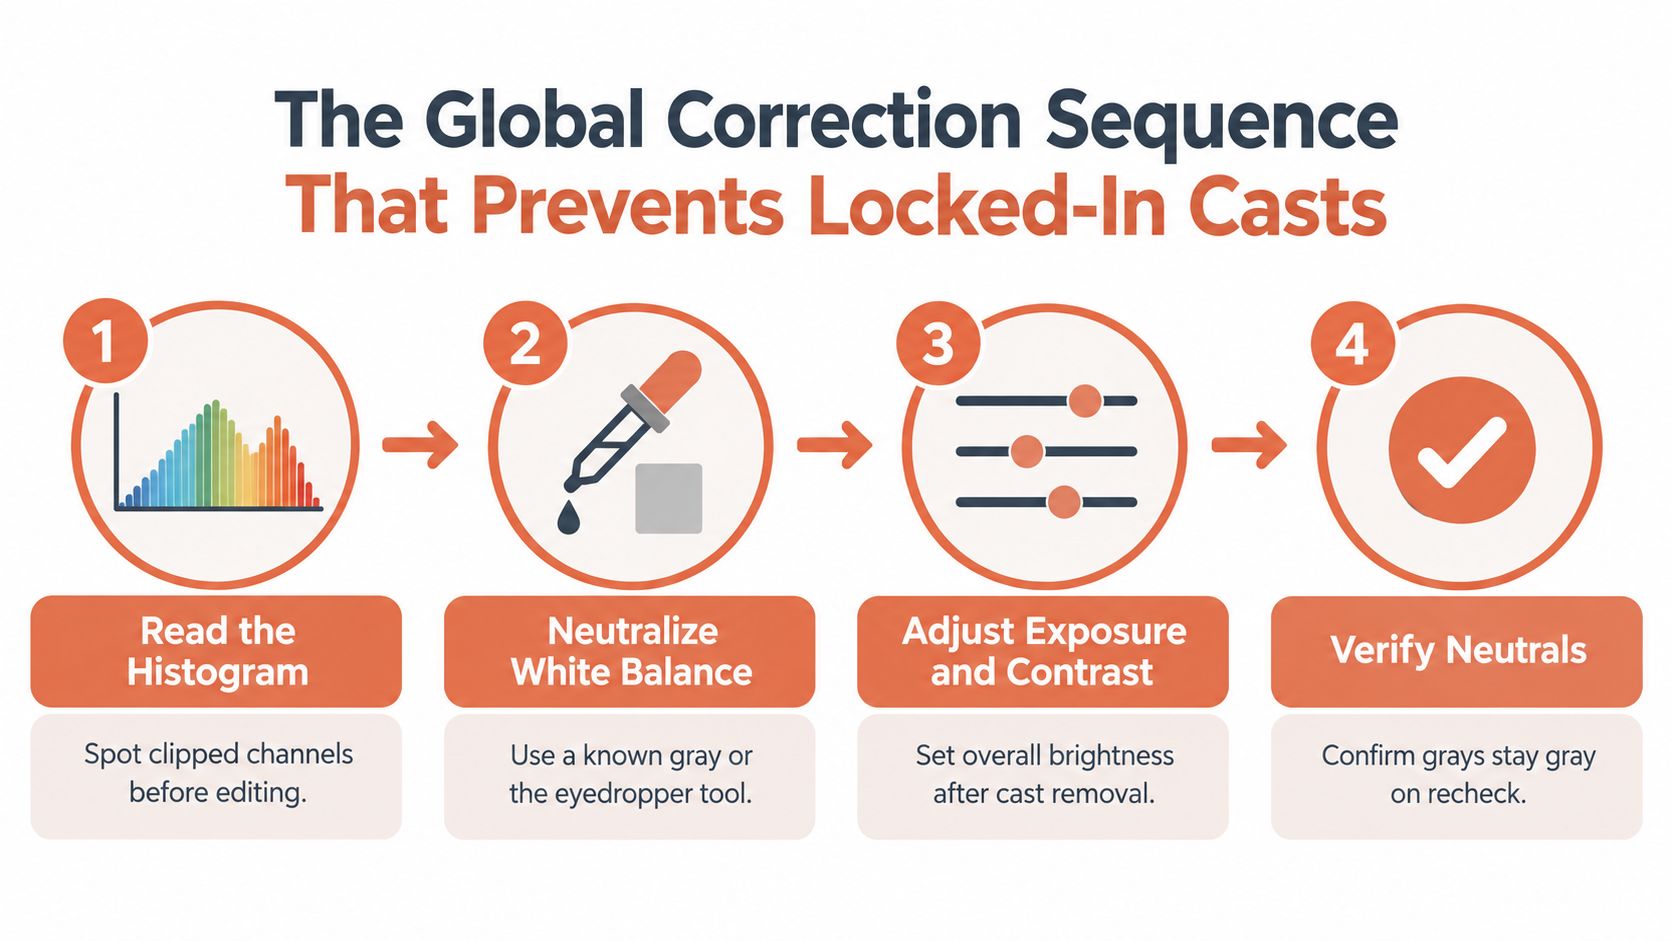
The order matters more than the tool. Read the histogram first, neutralize white balance second, set black and white points third, and only then shape midtones and saturation. If you reverse that order, you can lock a cast into skin, fabric, and product color before you’ve had a chance to remove it.
Start with neutralization
Use a known gray or white reference, or the eyedropper tool on something that should be neutral. That move does the most work with the least damage because it strips out the broad cast before contrast and saturation have a chance to exaggerate it. In batch work, saved Camera Raw or Lightroom presets help hold that neutralization across a shoot, so the catalog stays coherent.
Then shape tone
Once the cast is gone, set black and white points with Levels or Curves. This restores separation without forcing color decisions too early. After that, refine midtones and saturation so the image still feels alive, not flat.
The mistake I see constantly is pushing contrast or saturation first because the picture “pops” faster. That often looks good for a moment and then falls apart on skin, labels, and whites because the underlying color problem never got solved.
Practical rule: if the white shirt still looks cream-colored after neutralization, stop and recheck the source lighting before you keep moving sliders.
For teams working in faster production environments, ai fashion photography is useful as a comparison point because it still depends on the same correction logic, neutralize the base first, then style the result.
Verify the neutral twice
A neutral sample can lie if you only check it once. Re-sample after the tone pass and make sure grays are still gray, not slightly green or magenta. If they drift, the tone adjustments are too aggressive or the starting white balance was wrong.
When Global Correction Fails on Skin and Brand Colors
A global correction can get the frame close and still miss the parts people notice first. Skin, cosmetics, brand reds, packaging, and metallic surfaces all respond differently to the same move, so the file may read neutral overall while the face or logo still looks wrong. On a product set, that is usually the point where I stop pushing the whole image and start isolating the problem areas, much like the workflow behind a one-photo product campaign, where one master still needs targeted variants.
Use Delta E as the sanity check
Delta E gives you a practical way to judge visible mismatch. Differences below ΔE 1.0 are generally imperceptible, 1.0 to 2.3 may be detectable mainly by trained observers, 2.3 to 6.0 are typically noticeable to general viewers, and values above 6.0 are often objectionable. That does not mean every image has to hit a lab-perfect target, but it does tell you when close enough is visibly wrong.
If the cheek, a lipstick sample, or a logo swatch still sits in the noticeable range after global correction, stop treating it like a whole-frame problem. Switch to a face-only curve, a hue change for the product color, or a luminosity mask for a hot highlight.
Local edits fix what global sliders can’t
A curves layer on the face only can warm or cool a complexion without touching the shirt beside it. HSL adjustments can pull a brand color back into range without dragging neighboring hues with it. A luminosity mask can calm a blown highlight on metal without making skin look muddy.
Selective edits preserve identity, but they also expose the trade-off. A technically neutral portrait is not always the believable one if the global pass strips warmth from darker skin or turns mixed light faces gray. Working portrait data collected across varied daylight sources shows that skin-color correction remains a distinct technical problem beyond generic gray-world correction. The practical fix is to sample the cheek, the forehead, and the brand swatch separately. If any of them sit outside ΔE 2.3 against your reference, mask them before you accept the pass.
Choosing Between Curves, HSL, and LUTs
These three tools solve different problems, and using the wrong one is how clean images get distorted. Curves are best for contrast and channel shaping, HSL is best for nudging specific hues, and LUTs are best for applying a finished look after the file is already neutral. The order matters more than the brand of software.
| Tool | Best for | Batch friendly | Risk if misused |
|---|---|---|---|
| Curves | Tone shaping, channel balance, selective contrast | Yes, if presets are disciplined | Can create harsh contrast or channel shifts |
| HSL | Specific hue fixes, such as brand reds or foliage | Moderate | Can damage neighboring hues or skin |
| LUTs | Applying a consistent creative look | Yes, after correction | Can disguise bad capture and clip tones |
Curves give you the most control, but they also reward restraint. HSL is safer when you only need to correct one color family, especially if a garment or logo sits near other critical tones. LUTs should come last, on top of an image that is already neutral, never as a substitute for correction.
What I reach for first
If the image is technically wrong, I start with curves and white balance. If a product color or skin area still needs surgery, HSL or a mask comes next. If the brief asks for a consistent look across a set, the LUT stays on top as the final polish.
For a broader styling reference, photo color grading techniques can help separate the creative pass from the correction pass, but the correction still has to happen first.
Practical rule: a LUT can make a corrected image look intentional. It can’t rescue a file that was never neutral to begin with.
Export and Soft-Proofing for Web, Social, and Print
Finish in RGB first, then convert for the target output only when the correction is done. For print, that means completing the correction in RGB before moving to CMYK, then applying only the output-specific tweaks that are still necessary. This keeps you from fighting color shifts that were created by conversion instead of capture.
Soft-proofing is the last reality check. A file can look perfect on a calibrated monitor and still drift on a customer’s phone because devices, profiles, and platform compression don’t all behave the same way. That’s why the ICC chain matters from camera to display to output, not just in the editing app.
Sharpen near the end, after tonal and color decisions are locked. Early sharpening makes artifacts harder to spot and can exaggerate halos around color edges, especially in ecommerce and product work where clean edges matter.
The same caution applies to social graphics with Claude, because a polished social crop still needs output checks once it leaves the editor and lands on a platform that recompresses the file.
What to keep consistent
Use the same export profile for the same destination, and keep your calibrated display as the reference while you compare output tests. If the image still looks wrong on the target device, don’t keep pushing saturation. Revisit the capture chain, the working profile, or the proofing setup first.
A Quick QC Checklist Before You Ship the Image
Zoom to 100 percent and inspect one known neutral, then sample a skin patch and compare it with the reference shot or the approved palette. Check the histogram again for new clipping, and compare the export against the calibrated screen before you send it out. If a brand color is visibly off, the file needs another pass.
Red flags: a visible cast on neutrals, banding in smooth gradients, or a skin patch that lands well outside the reference look.
If those show up, don’t ship it. Rework the white balance, tone, or local mask until the correction reads cleanly on the calibrated display and still holds together in export.
CreativeClaw can help teams create and revise image assets inside one workflow, which matters when color correction needs to move from a single retouch into a batch of brand-ready variants. If you’re balancing product photos, portraits, and social exports in the same pipeline, visit CreativeClaw to see how its editing and generation tools fit that kind of production work.
Ready to try it?
Connect CreativeClaw to Claude in under a minute.
Get StartedContinue the workflow